1. Go to URL: APPLICATION URL/admin_interface/
2. Choose Manage floor plan
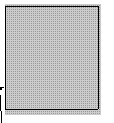
3. Choose the floor you want to edit.
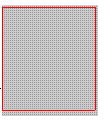
4. Click Draw Square button on the menu if the room going to be define is a square or rectangle shape and then click on the map to indicate the position and size of the square.
5. Click Draw Area button on the menu if the shape of the room is in other shape. Then click on the map to define four points and a polygon would be drawn.
6. If the room is still not completely covered by the polygon, you can first click Room Picking button to choose the room area and then click Add SubArea button to continue to draw more polygon.
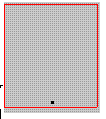
7. Click Room Picking button then click on the room. The room should become red now.
8. Click Add door button and click in the room to indicate the position of the door. Every room should have exactly one main door.
9. If your room has more than one door, click Add door button and click in the center of the room. Then click Draw Point button to indicates the position of other doors. Click Draw Weighted Edge button to connect the doors to the center point (main door) of the room.
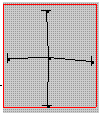
10. You can choose the points and use num pad to fine tune the position of the them. (8=Upward, 4=Left, 5=Downward, 6=Right)

11. Fill in the information of this room under the Room information section and click save.
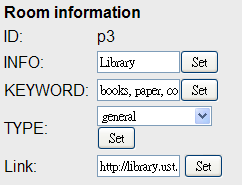
12. You can upload a photo for this room.

13. Click SAVE DATA button on the menu.
14. Done.
1. Go to URL: APPLICATION URL/admin_interface/
2. Choose Manage floor plan
3. Choose the floor you want to edit.
4. Remove all doors, edges, and points of the room first.
5. Click Room Picking button then click on the room. The room should become red now.
6. Click Remove Room button.
7. Click SAVE DATA button on the menu.
8. Done.